POP Projects is a collection of new and classic projects from more than a century of Popular Mechanics. Master skills, get tool recommendations, and, most importantly, build something of your very own.
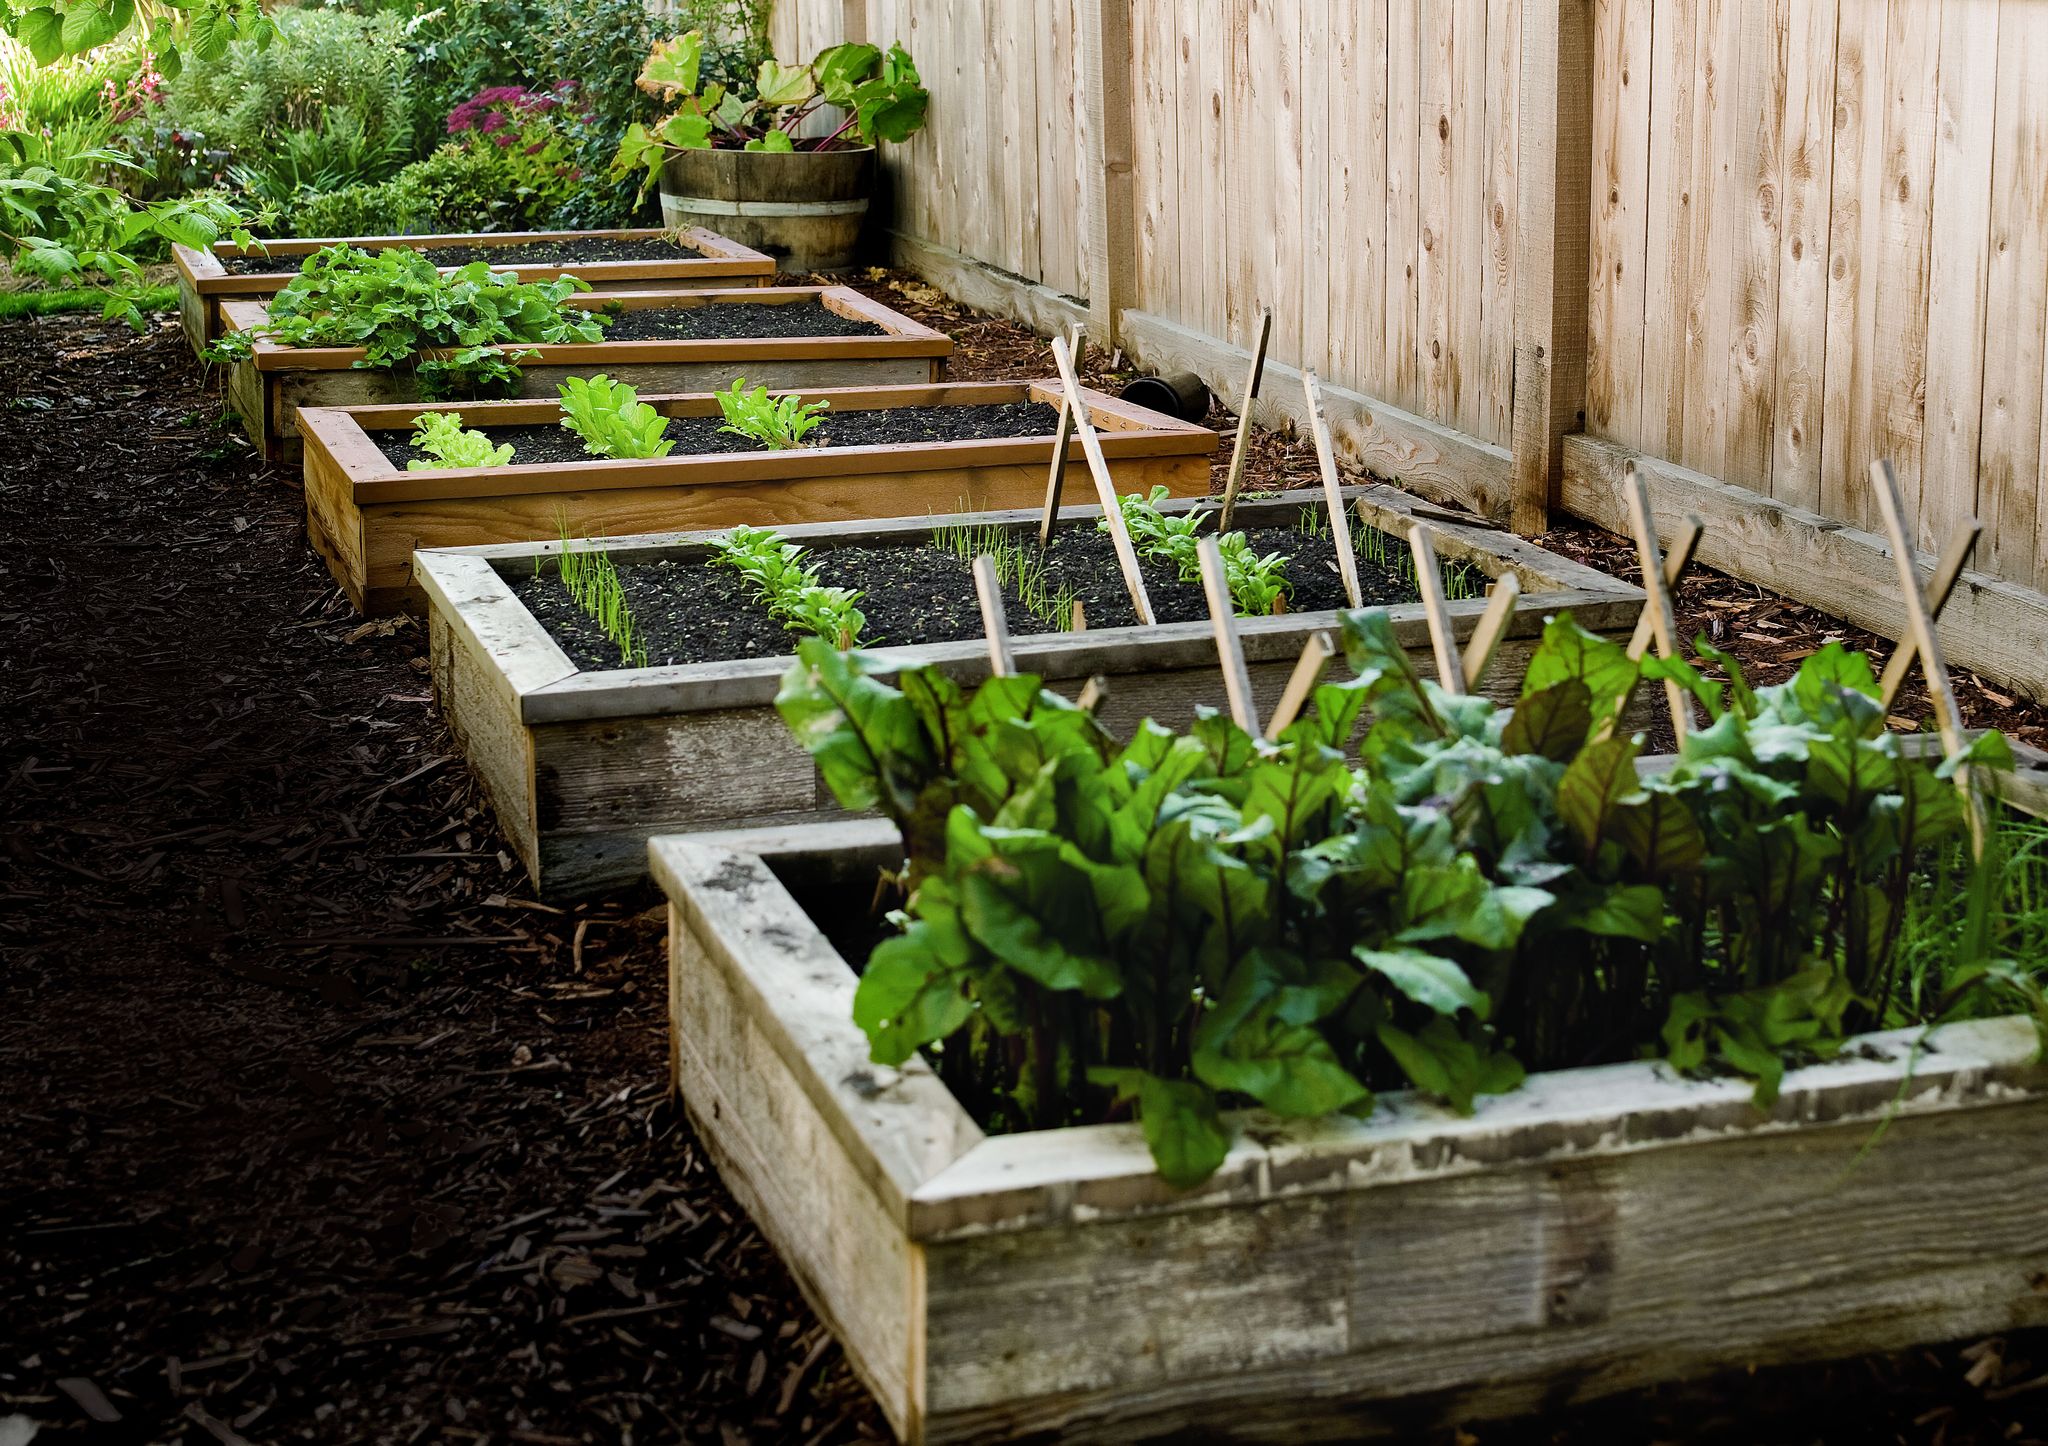
If your summer daydreams include a bountiful garden full of fresh, homegrown vegetables and gorgeous flowers, there’s no better way to make it a reality than with a raised garden bed.
Raised beds solve all kinds of problems for gardeners: high-quality gardening soil avoids issues like hard clay or nutrient-poor soil, which means you can plant more densely and get higher yields. The container offers superior pest and weed management compared to ground-level planting. The tall beds also mean less stooping and bending to pick weeds or produce, along with structural support for hoop rows to start growing earlier in spring and extend later into fall.
Making a raised garden bed is an easy weekend project even for a novice. You can find ready-to-assemble kits online, or you can simply make your own, custom-created beds from common hardware supplies. Here’s how to do it, from placement to potting soil to plants.
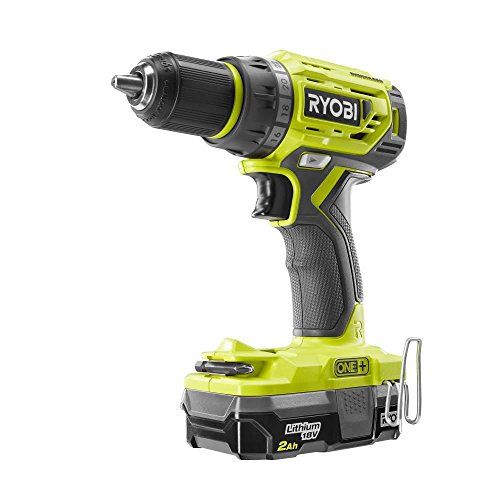
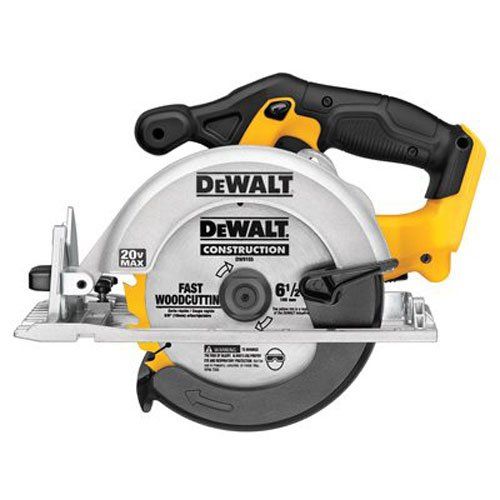
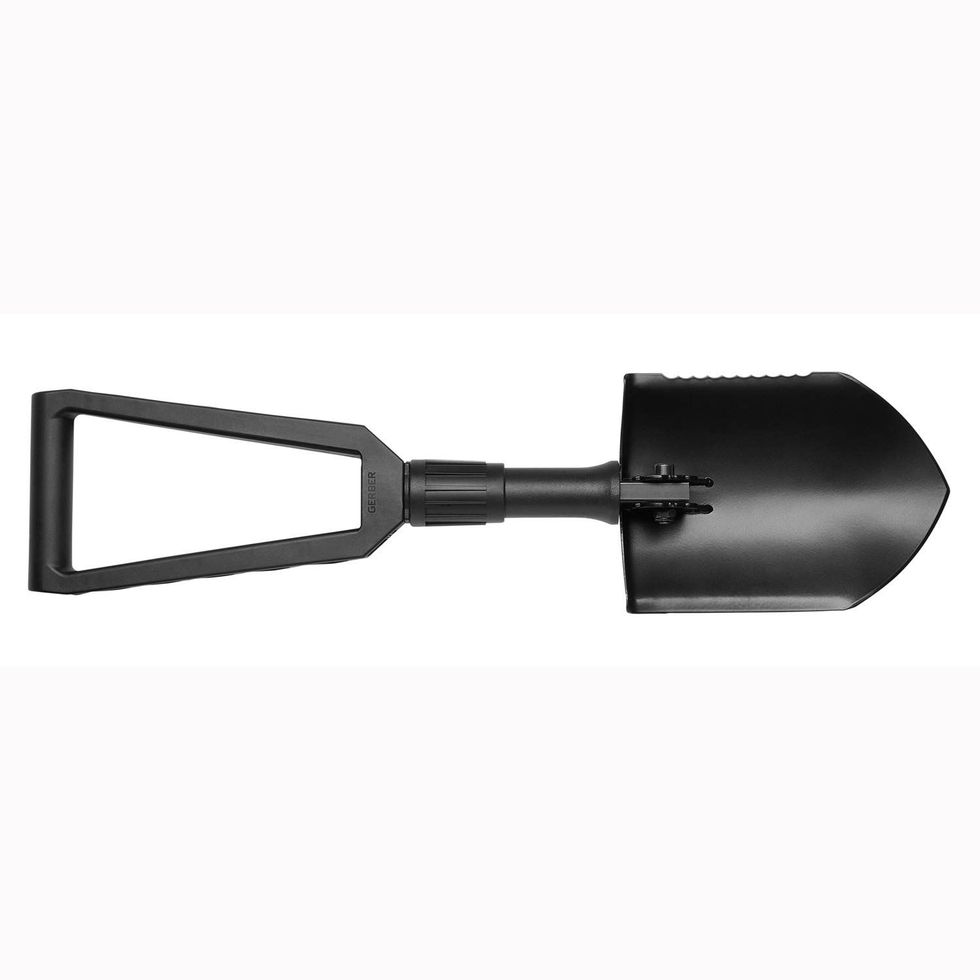
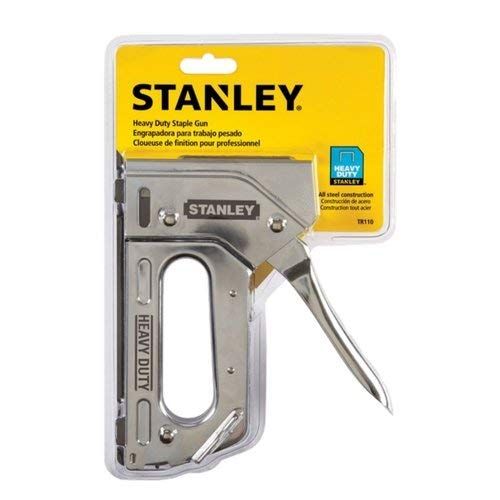
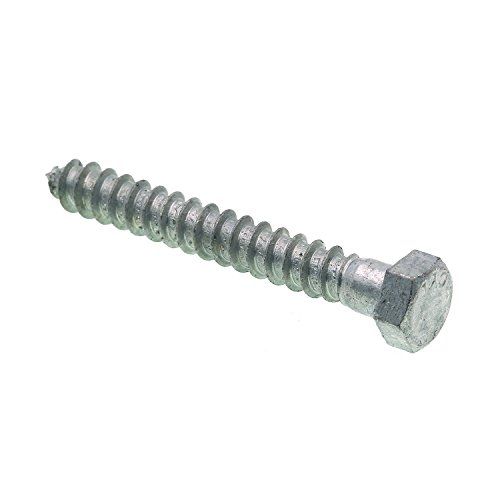
Tools You'll Need
Pick the Right Location
Most vegetables need full sun, meaning 6-8 hours a day of direct exposure. If you can, orient the long side of the raised beds facing north-south; rows in an east-west orientation shade each other. Flat locations are best; slopes will cause water to drain unevenly, leaving one end of your garden dry and cracked and the other waterlogged.
Shade isn't always the enemy. In hot climates, some afternoon shade or filtered light may help to prevent wilting and bolting (when cool-season veggies like lettuce go to seed and take on a bitter taste). Especially if you’re planting cool-season crops like spinach, locations with afternoon shade may extend the growing season. Avoid spots under trees that create a lot of litter, like catalpas.
You can make raised garden beds any shape and size you want; squares and small planters are popular styles, especially for smaller yards or as accent gardens. Try to keep widths to four feet; that’s narrow enough to reach into the center from either side. Leave at least 18 inches between beds for easy access; two feet provides enough space for lawnmowers, wheelbarrows and wagons. One to two feet is an ideal height. You can go taller, but it increases materials cost (especially fill dirt).
Build the Garden Bed
Raised garden beds can be created out of almost any durable building material: bricks, concrete blocks, or engineered wall blocks all work fine. You can even use composite decking materials. To save cash, used materials may be an option. Recycling and re-use centers for building materials are increasingly popular; they’re a great place to find high-quality, affordable materials for small projects.
By far the most common material for raised beds is lumber. Since raised beds are often used to grow edibles, steer clear of wood preserved with toxins, like creosote-treated railroad ties. Pressure-treated lumber sold in the U.S. for residential use no longer contains arsenic compounds like CCA, and the EPA considers copper-infused lumber treatments like ACQ to be safe for food crops. To be completely safe, or to grow organic veggies, opt for untreated lumber instead.
Rot-resistant woods like redwood, cedar and cypress are more expensive than common materials like pine, but will last 10-20 years. Pine is an affordable alternative, but will only last about half that. For assembly, use galvanized or stainless steel hardware. Screws or bolts are easier to work with than nails.
Measure the site to ensure it's level and large enough, and clear it of turfgrass and weeds. Landscape fabric isn't necessary; it offers only modest weed prevention, but it will stop beneficial earthworms from being able to get into your garden to aerate and condition the soil, and it may inhibit drainage.
Here's the step-by-step approach (adjust lengths to create a garden bed of any size):
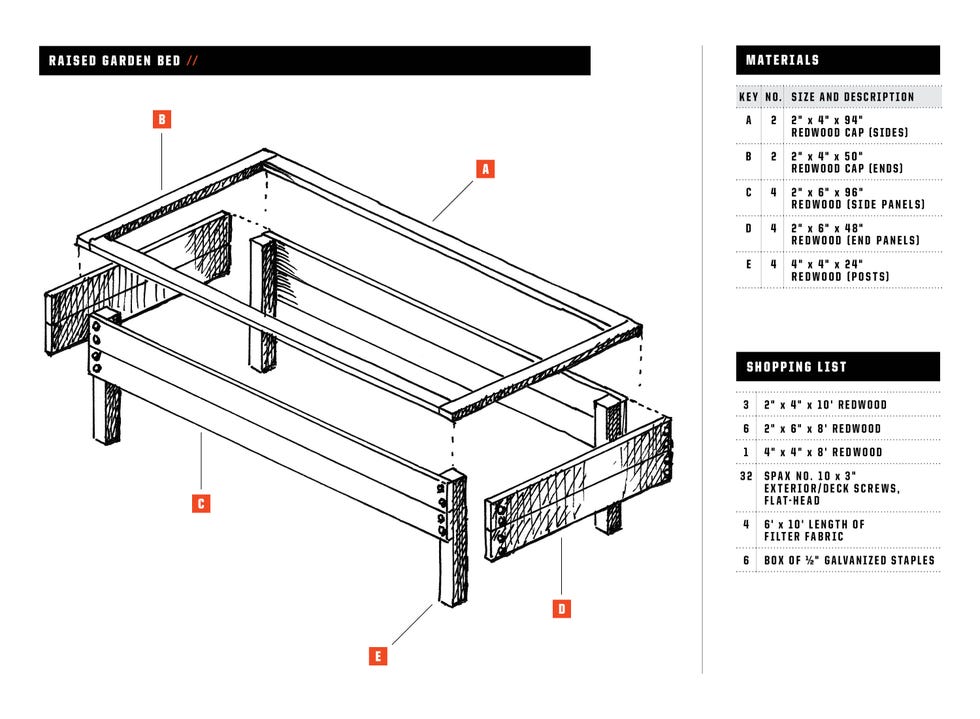
- To form a side panel, place two 24-inch lengths of 4x4 parallel to each other on the ground, 96 inches apart. Rest an eight-foot 2x6 across both boards so that the side of the 2x6 is flush with the end grain of the 4x4 at the top and the end grain of the 26 is flush with the side of the 4x4. Affix the 2x6 to the 4x4s using two lag screws per side, 1 1⁄2 inches from the top or bottom of the board. Repeat with the second 2x6, adding a quarter-inch below the first. Do this process again to form the other side panel.
- Place the two side panels parallel to each other, 48 inches apart, with the 4x4s pointing up. Attach the 48-inch 2x6s to the 4x4s using lag screws to form the other sides of the planter. Make sure the end grain of the 2x6 is flush with the side of the 4x4.
- Flip the planter so it rests on the 4x4 feet and place it in the desired location. Mark the feet in the dirt, move the planter, and dig four holes, approximately 12 inches deep.
- Place the planter in the holes. Grade as necessary so that the bottom of the 2x6s rest on the ground and fill the holes.
- Line the planter with filter fabric and stable along the top of the upper 2x6s. Remove any excess with a utility knife.
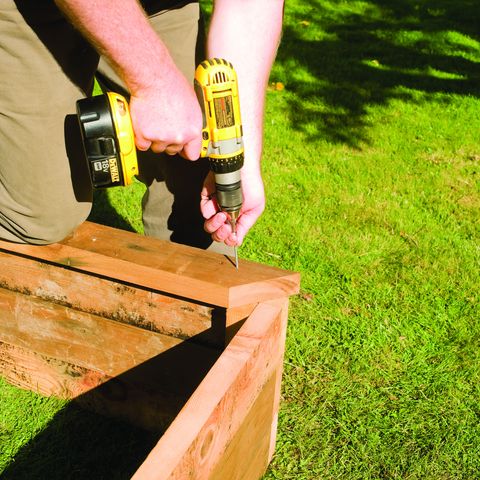
- Place the 50-inch 2x4s on the top of the shorter sides of the planter. Their sides and ends should hang one inch over the sides of the planter, creating a lip. Place the 94-inch 2x4s on the longer sides of the planter in a similar fashion. After ensuring that the boards meet neatly, attach to the frame using exterior-grade wood screws.
- Fill the planter with sliightly less than one cubic yard (0.8) of topsoil or planting mixture.
Assemble the raised bed either on site or where it can easily be moved once assembled. Large ones can be heavy even when empty and you may want help moving it. Use inside posts (2x2 or 4x4 for larger beds) on all corners for sturdiness; they'll help keep the walls from bowing outward. If you want to anchor the bed, pointed 2x2 grade stakes can be used for corner posts and at mid-wall locations. If your neighborhood features burrowing animals like voles, staple ¼ or ½-inch hardware cloth to the bottom of the frame to keep them out.
Move the assembled frame into place; this is a great time to check to make sure the site is truly level. You can add a 1x4 cap railing if you want; it’s a handy place to kneel or place tools while working. Gravel or wood mulch between beds offers a clean, dry walking and working space.
Consider Greenhouse Hoops
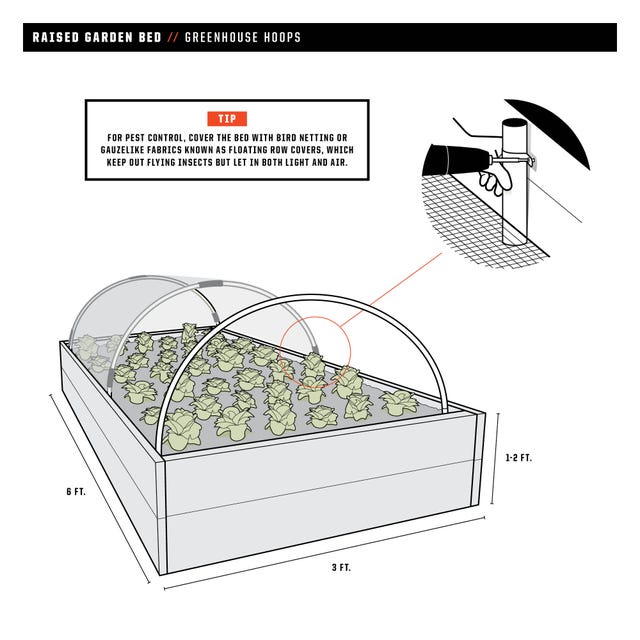
A simple framework of hoops and a lightweight cover can extend your growing season in cool areas, conserve moisture in dry areas and protect plants from birds or insects. Use galvanized pipe straps to mount 1-inch PVC pipe inside the bed walls. Cut ½-inch flexible PVC tubing twice as long as the beds' width. Bend it, mount it and clip a cover in place.
Use clear polyethylene film to raise soil and air temperatures in early spring or fall—to get an early start on heirloom tomatoes, for instance, or to try your hand at exotic squashes. But be careful not to bake your plants on warmer days. Remove the cover or slit vents in it to avoid excessive heat buildup. For pest control, cover the bed with bird netting or with gauzelike fabrics known as floating row covers, which keep out flying insects but let in both light and air.
Automate Your Irrigation
You can water a raised garden bed by hand, or you can set up automatic irrigation. A simple micro-irrigation setup ensures that plants get water consistently—especially important for seedlings and leaf crops such as lettuce.
"The sides of raised beds heat up quickly in the sun, baking the moisture out of the soil," says Sausalito, California garden designer Tom Wilhite. "Irrigation delivers the water evenly and gently. You can set your timer to water early in the morning—less will evaporate, and you resist disease."
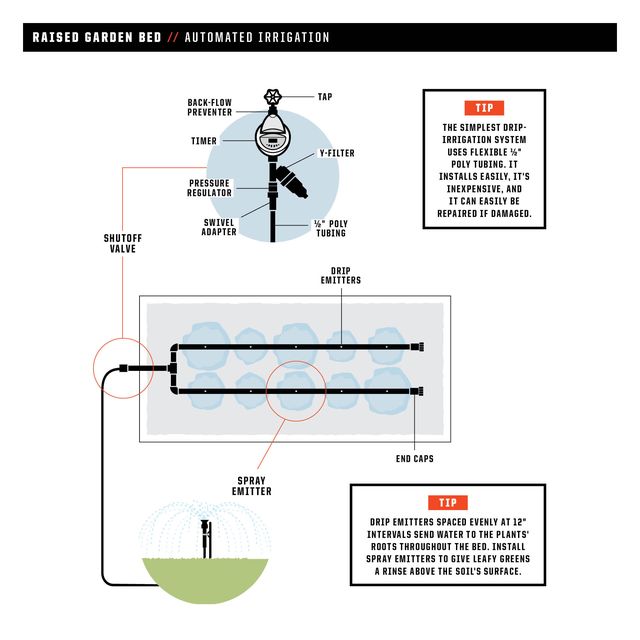
A basic setup starts with a faucet or hose-bib attachment that is essentially a series of valves that prevent back flow into the plumbing, filter the water and control the water pressure.
These valves are designed with 1-inch or ¾-inch connections. From these, attach supply lines of flexible ½-inch poly tubing. The tubing's accessibility makes it easy to check for leaks and repair damage from punctures or bursts. To protect the tubing, bury it a few inches and cover the line with mulch.
Lay the tubing along the beds in lines 12 inches apart. Fit sections together with compression elbow and T-fittings. Install drip emitters at 12-inch intervals along the length of the tubing for even delivery of moisture to plants. Low-volume sprayers or misters on risers can also be used, but these lose more water to evaporation. Close the ends of each line with hose-end plugs and caps. Then sit back and let the system water for you.
Fill Up and Plant
To fill, use an online soil volume calculator to estimate material needs. Garden soil should be roughly 50 percent high-quality topsoil and 50 percent compost. If you’re buying in bulk from a landscape supply center, make sure you get actual topsoil, not fill dirt, which is often subsoil with little of the organic matter and nutrients needed for gardening. Real topsoil is dark, with an earthy smell, and it breaks up easily in your hands.
💡Adjust for your climate; the right soil mix for Portland might need more of certain soil amendments like vermiculite for better drainage in wet weather, while hot climates like Phoenix might benefit from a soil that holds more water.
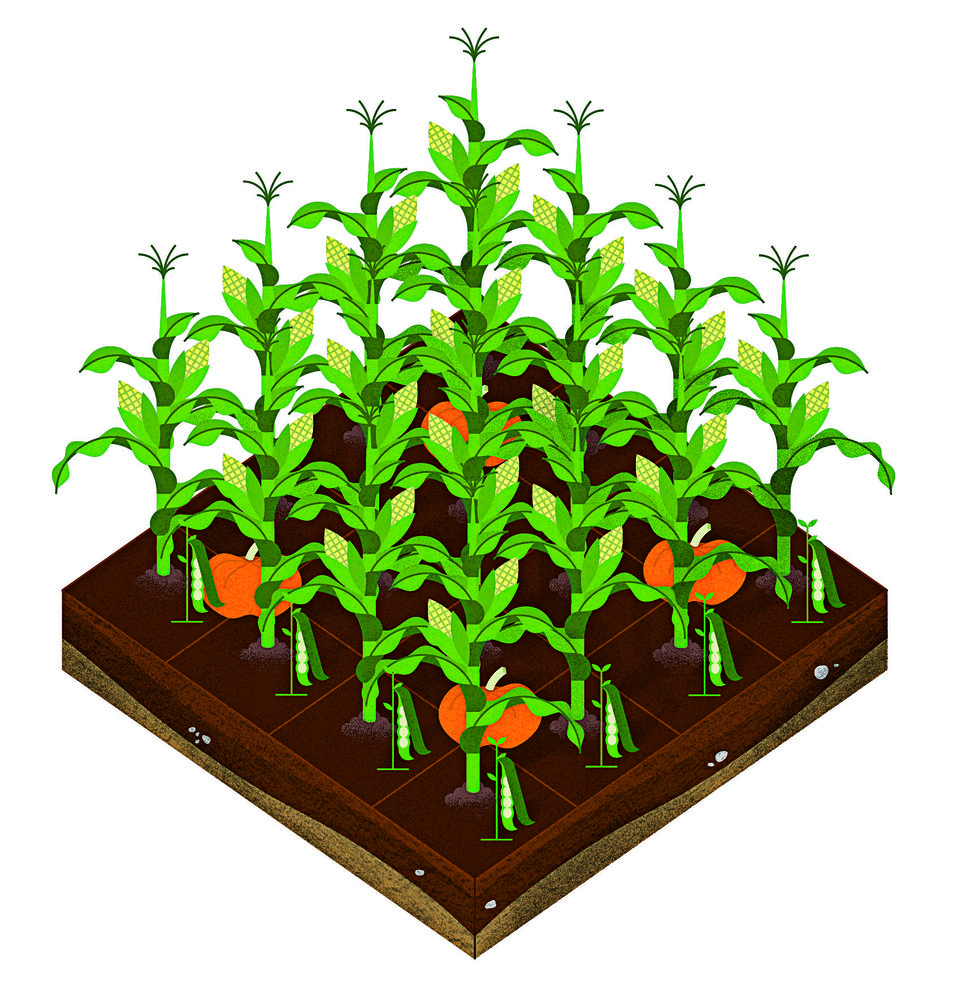
Choose your plants based not only on what you want to eat but also on what grows well in your area. Most vegetables and herbs in the following garden layouts are annuals. Mixing them up with some perennial plants such as artichokes or asparagus works well in a bigger bed. Perennials take a little longer to get going but produce for years.
⚠️These garden layouts are designed for a 10x10 garden, but can be adapted for any size garden bed you decide to build.
Planting, sowing, and harvesting times are determined by your local climate—especially the first and last frost dates. For advice specific to your area, search for frost charts online or consult a local master gardener.

